HEADER

HEADER

Thursday, January 16, 2014

DIY Flower Crowns/Halos

I was really pleased how these crowns turned out- I wanted to wear mine all day. I felt like a garden flower child. 

Pretty simple to make, just time consuming. 

A few things to know when making your own:
Buy more flowers than you think you will need. You use a ton to cover the base and wires. You want these to be full! I bought 7 different plants and then got multiples of some. Use a few different kinds of flowers of the same color. This makes the crown visually appealing.  I used three or four white/cream flowers and then had yellow and red accents. Secondly, this project can be outrageously expensive you don't buy the flowers while on sale. Wait until your local craft store is having a sale. Hobby Lobby frequently has their faux flowers 40% off. Lastly, don't be too quick to strip the flowers of the greenery that comes with them. Keep some leaves  and branches to make the crown look more natural. 


You will need: 
Wire cutters 
Green floral wire 
Green floral tape
Hot glue 
Faux flowers 

1.Take a simple vine and measure around your head. Overlap by an inch on both sides and cut. Wrap wire around the over lap to secure ends. Wrap wire in tape. Let some branches hang loose, but attach most of them to the main base. 

2. Using wire cutters cut flowers.  Be sure not to cut too close to the base of the flower or you will lose petals. On many I left part of the stem on. This allows for different overlap and attachment options (see below).

3. To attach flowers to the base vine you have two options. You can hot glue the flowers or you can 
wrap the stem of the flowers to the base vine using the wire and tape. 

4. Be sure to completely cover your vine. The key to making these look nice is that they are full. I would have two are three flowers attached in the same spot (which is why it is nice to have flowers with an inch or so of stem.) 

Mason Jar Pin Cushion

I am in love with this!! It takes about five minutes to make and you can use the lid with or without the jar. I store sewing notions in the jar.


You Need:
Fabric
Stuffing
Mason Jar Lid
Felt
HotGlue Gun
Scissors
Pen


1. Cut your fabric, I cut it a 4x4 inch square.

2. Trace the inner lid. Cut. Set aside. You will come back to this piece:


3. Make a sandwich with the ring on the lid on the table, the fabric (wrong side up) the stuffing, and then the lid, wrong side up. Press the lid so it is closed tight. You may need to adjust the fabric and stuffing so it has a nice round shape:


4. Pull the edges of the fabric tight and hot glue down:


5. Hot glue the felt to the underside of the lid, over the fabric edges:


6. Flip over and stick with pins.


Use alone or with a jar! Enjoy and happy sewing!

Easy Apple Pancakes

Tonight for dinner I made breakfast.  These apple pancakes were incredibly simple to make and very delicious. The best part is you probably already have all the ingredients!
I was "pinspired" by a recipe (from Carla Hall) that I found on pinterest. I simplified it and made some changes.

Apple Pancakes:
Pancake batter
1 egg
1 teaspoon Lemon juice
1/2 teaspoon Cinnamon
Dash of Nutmeg
Powdered sugar
2 Apples

*Serves 2-3

1. Follow packaging directions, make pancake batter. ( I used 3/4 cup of my powder mix.) If your pancake mix does not call for egg, still beat in one egg. Add cinnamon, nutmeg and lemon juice.
2. Skin and core 2 apples. Slice them into 1/4 inch thick rings. I used green apples.
3. Using fork, emerge apple slices into the batter. On a greased gristle fry the slices.
4. Dust with powdered sugar and serve with syrup.


Six Month Old Photography Tips

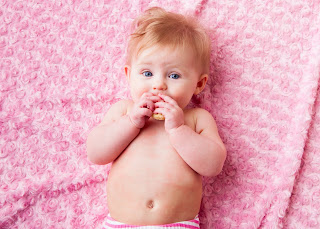
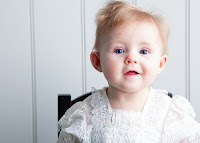
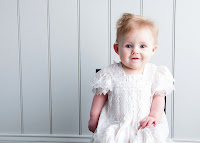
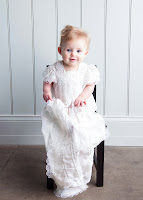
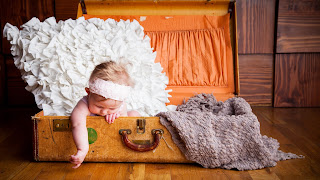
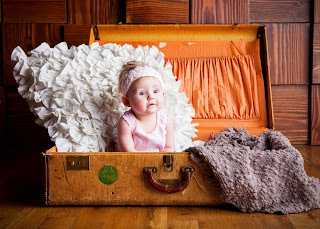
On Kelly's six month birthday, My mom and I went and get pictures taken at FotoFly Studio in Draper, UT. They are incredibly affordable, quick and efficient. You get prints within seconds and go home with your digital copies. It was interesting to come up with poses for Kelly because she cannot sit up entirely by herself yet. I was worried there would be little diversity in her pictures. That was not the case at all. 

Here are a few tips I picked up:

1. Even if you don't anticipate baby needing to eat, have a snack or bottle ready. The flashes and stimulation can be quite overwhelming and 20-30 min in baby might need a little snack and rest. With limited time with the photographer have that bottle, mixed on hand. I usually do not let my girl eat whenever since she is on a feeding schedule, but happy baby = pictures of happy baby. 


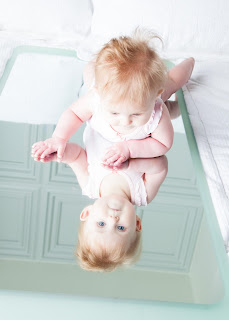
2. If you are going to attempt mirror pictures, lay baby on a very large mirror. The mirror we used was larger than your typical full-body mirror, yet, it was not large enough and the pictures were not solely baby and mirror like I had imagined.


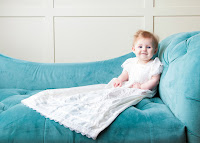
3. If you want to have the illusion that your baby can sit upright in a chair, have one person, mom, sit very close, playing safety. I was able to grab Kelly when she lost her balance. The photographer will work with angles to avoid you.


4. Using textured pillows to prop baby was a hit because it entertained baby and photographed nicely. 


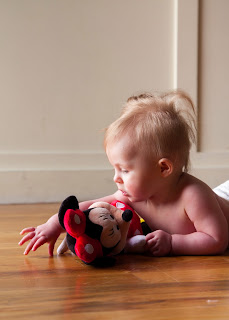
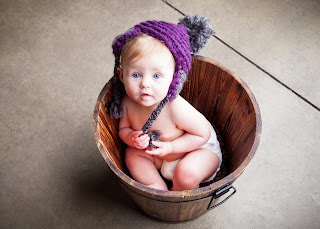
5. For infant photography props are key. We brought some toys for her, which was special to capture her with some of her favorite toys. The studio had tons of seating, pillows and baskets. I could not have been more pleased.


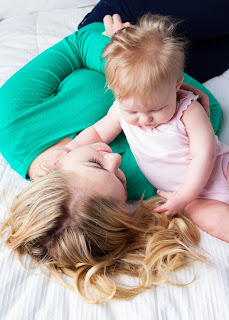
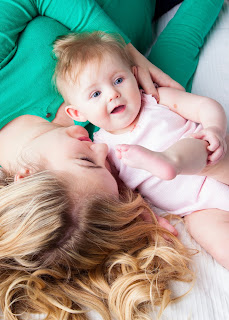
6. I wanted to be in some pictures with Kelly, but I have not lost all my pregnancy weight. The poses we used below, completely avoided my issue areas, yet showcased some special play time with baby. These pictures are very special to me and I love how they turned out. 


Lastly, remember to bring pose ideas with you. I had pictures saved on my phone that I showed our photographer so she knew what I was looking for. I also flipped through them a couple times during the shoot to ensure we took all the pictures I had planned on.